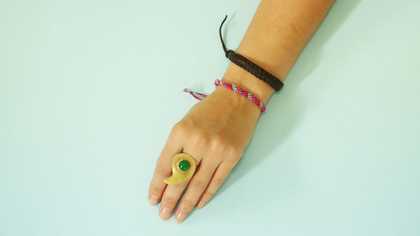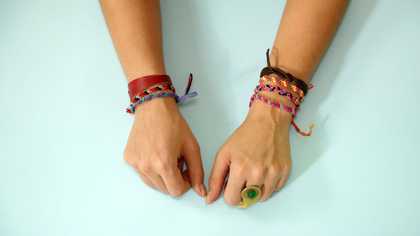
Want to make a friendship bracelet? We'll show you how!
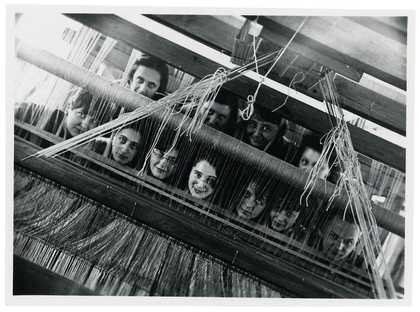
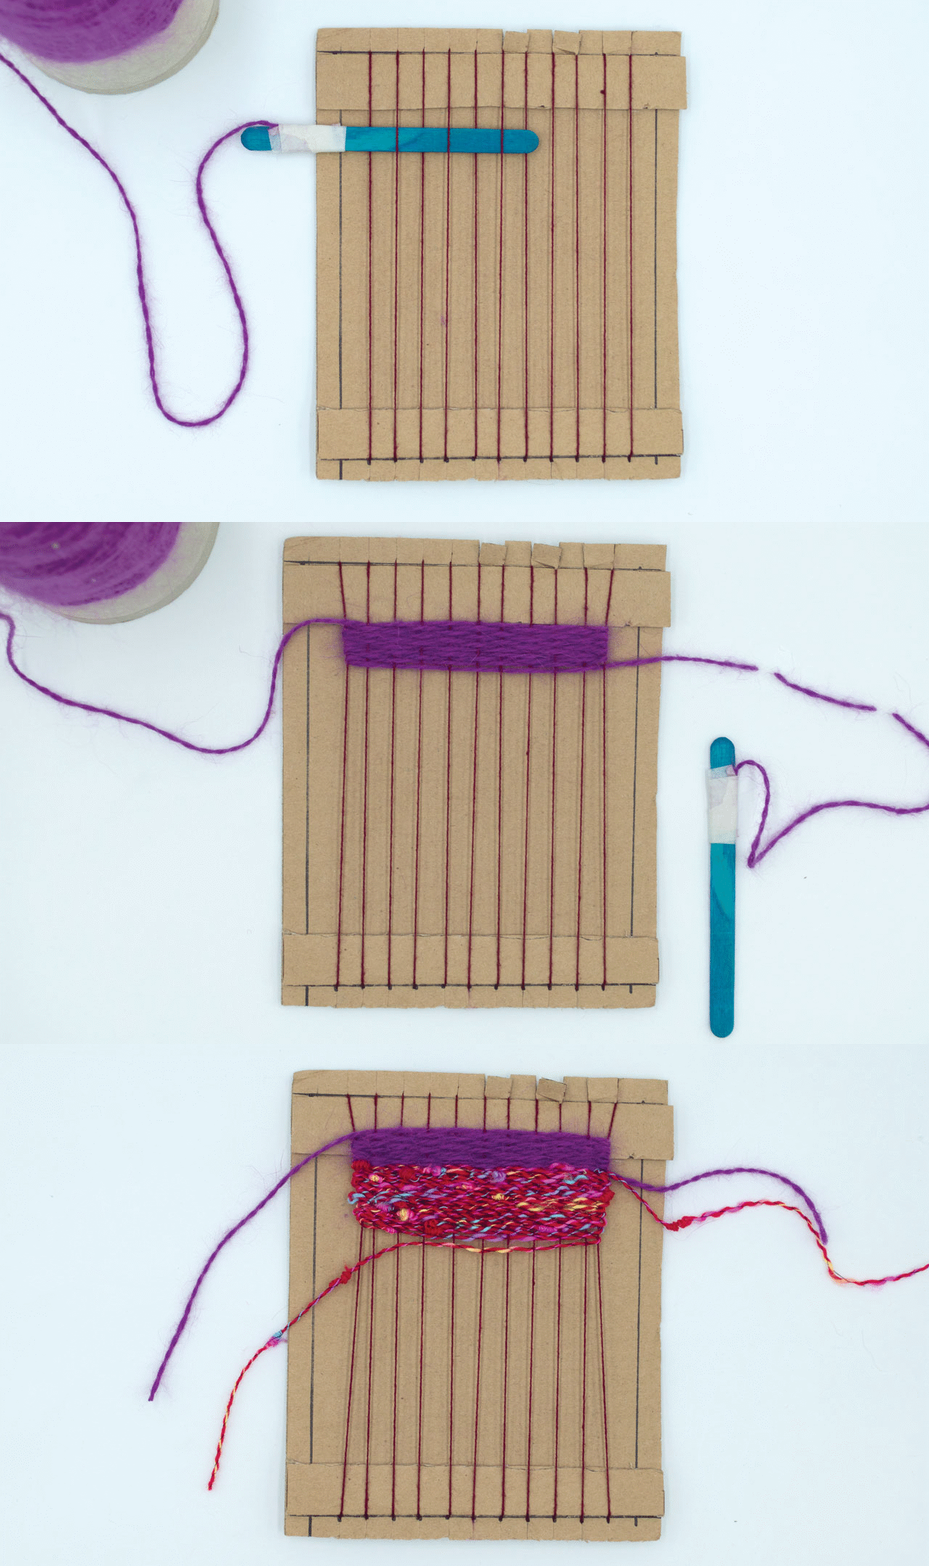
You make the bracelet by tying lots of small knots. This creates a pattern. You can have lines, zig-zags and even arrows! This is a type of weaving. Lots of artists use weaving to create their art.
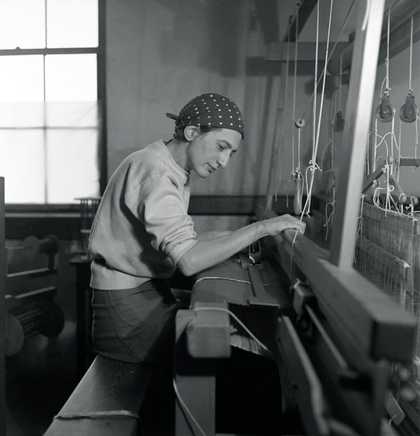
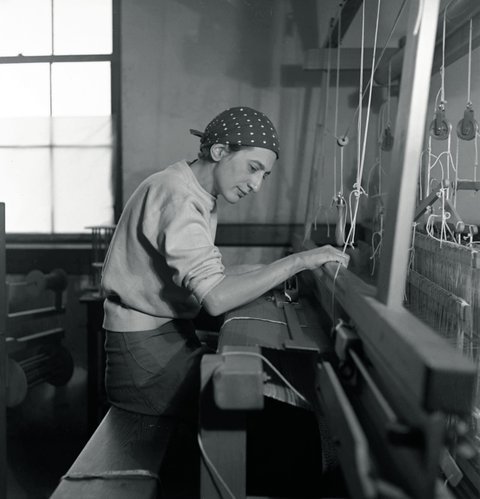
One artist who did a lot of weaving was Anni Albers. Here she is using a large machine to create big textile patterns.
Anni Albers studied weaving and textiles at the Bauhaus art school in Germany. She believed that textiles are a type of art and as important as painting or sculpture!
Anni travelled a lot in her life. She spent some time in South America. These trips influenced the patterns and designs of her textiles. Have you been somewhere which has inspired you?
Ready to make a friendship bracelet?

You will need:
- 4 different colours of thread (64cm of each)
- Scissors
- Sellotape
Let's get started

1. Select 4 colours of thread

2. Cut 64cm of each colour

3. Tie the 4 pieces of thread together in a knot at one end

4. Stick the knot to a flat surface or use a safety pin

5. Spread out the 4 threads
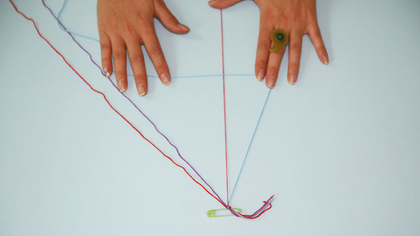
6. Place the 1st thread over the top of the 2nd thread to make a loop

7. Gently pull the 1st thread through the loop. This creates a knot at the top of the 2nd thread

8. Repeat steps 6 & 7. You should now have 2 knots at the top of the 2nd thread

9. Repeat this, tying 2 knots at the top of the 3rd and 4th thread. Keep going until there are 2 knots on every thread

10. Repeat the double knot technique using the far left thread. This will be a new colour. move from left to right until the thread is in the far right position

11. Continue until the bracelet is long enough for your wrist

