Animation of Luca's making © Luca Damiani
Do it!
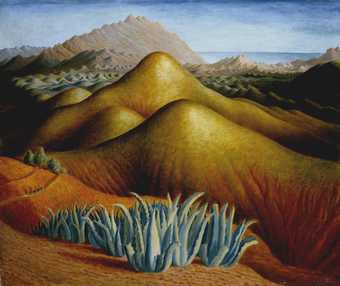
Dora Carrington
Spanish Landscape with Mountains (c.1924)
Tate
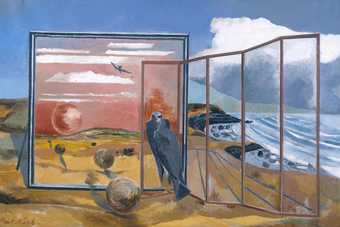
Paul Nash
Landscape from a Dream (1936–8)
Tate
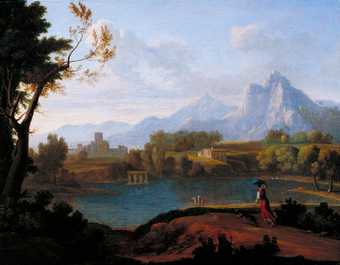
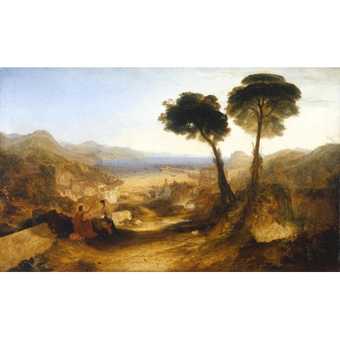
Unknown artist, Britain
Classical Landscape with Mountains (c.1720–40)
Tate
- Before we start working, create a folder 'My Landscape' on your desktop. This is important as that folder will contain and collect all your art material!
- Look for landscapes and paintings you like and might want to change in Tate Kids Explore. Or check out some of the images above.
- Once you have found the painting that you want to re-imagine save it in your image folder.
- It is now time to think about how you might want to transform and change the painting you have chosen. What do you imagine to be in it? Start thinking about it; perhaps chat with your friends and family too! What could you add to create an exciting new artwork? Think about the buildings and characters that could be in the painting…
© Luca Damiani
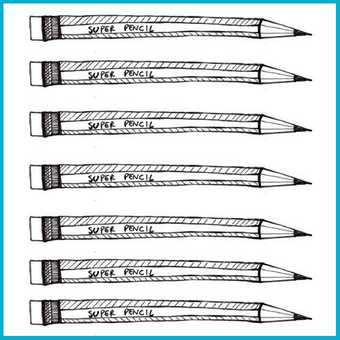
- If you know what you would like to create, it is now time to draw! And don’t worry, you don’t need to have a full clear idea, remember that you can discover and play with new ideas during the process too! Take your super creative pencil and let the drawing begin.
© Luca Damiani
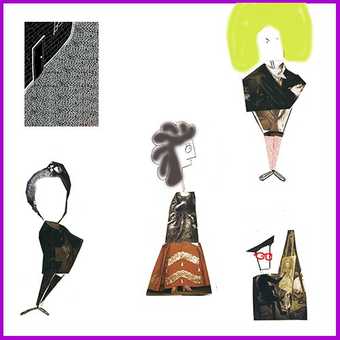
- Once you have created a drawing, it is now time to scan it. Ask your parents or teachers to help you out with this! These are some of my scanned drawings:
© Luca Damiani
- Once you have scanned all your drawings, rename them. (For example if you created a dog call it Dog_Image; if you designed a cat call it Cat_Image; call it Tree_Image_01 if you constructed more than one tree etc.). It is very important that you rename all your drawings, and then it is even more important that you copy them into your 'MyLandscape' folder. Keep things tidy and easy to find. You could create another folder in 'MyLandscape' called 'Materials' for your drawings.
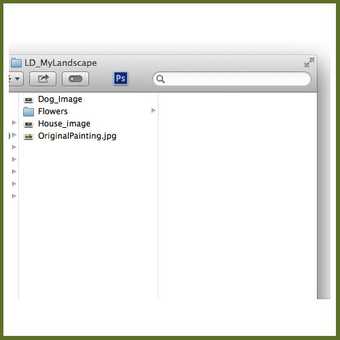
© Luca Damiani
- Now it's time to work with your digital software. Open Photoshop or any other software for digital image-making you might have (I quite like Paint too!).
- Once your software is ready, go to 'File → Open and then select the original painting from your 'MyLandscape' folder. You will have something like this:
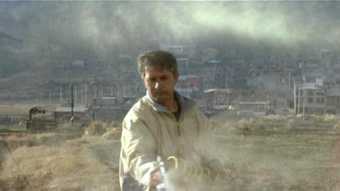
© Luca Damiani
- Now, go to your 'Materials' folder and drag and drop one of your images on top of the digital working desk. You will have something like this:

© Luca Damiani
- You might know how to use the basic tools of Photoshop – if not, ask your art teacher or parent for some help! You now need to edit (i.e. move and/or resize and/or crop) your drawing in order to fit it into your landscape painting. Keep your layer box (on the right hand-side) ordered; use the correct naming of the layers to reflect the drawings (i.e. the dog drawing will be called Dog as a layer; the cat drawing will be called Cat as a layer; the collection of trees will be called Tree_01, Tree_02 and Tree_03 for example, perhaps even inserting these layers into a Layer-folder called Trees if you want to). Check with your art teacher or parent for some help if you need to. Below is a resize, a crop and an edit of one of my images.
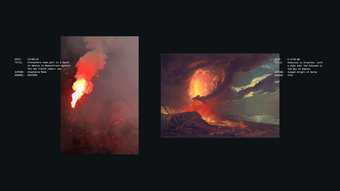
© Luca Damiani
- As you can see, I have scaled my drawing, I have cut the pavement and I then duplicated parts of the wall/bricks in order to construct the building on the left.
- I have also taken out the colour from the original painting, leaving it in black & white (but that is up to you!).
- Now add all your other elements; like other buildings, more people, why not try to change the colour of the sky? This may take some time, but it’s worth it!
- Once you have your final image, save it!
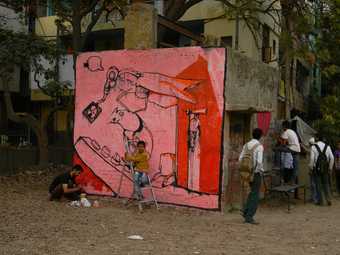
© Luca Damiani
- Go to 'File → Save as' and save it as a Photoshop file first. In this way you do not lose all your hard work. Then go again to 'File → Save as' and save your image as Jpg file, naming it 'YourName_Re-imagining Landscapes'.
- Why not share your artwork by uploading it to the Tate Kids gallery?
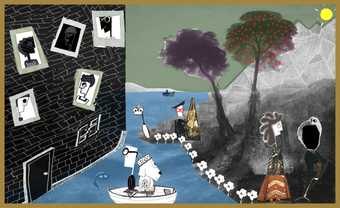
Luca's final work © Luca Damiani

